
Are you guys ready for Christmas yet? Do you have all of your gifts bought, wrapped and tucked neatly under the tree? We are done for the most part. I think I am going to make one more thing for E and then we will be done.
Today's post is about what we(the hubs and I) made for S.R.
She has asked for an American Girl Doll for Christmas this year. She is 4 years old...she ain't gettin' an American Girl Doll. However, she is getting a "Famerican" Girl Doll...(Faux-American). Ole Santy Claus is bringing her the doll from Target that looks just like the real deal, and it's 1/3 the cost.
So, I came across a really cool building plan for a doll bed on Ana White's Blog. It is perfect!
I knew the hubs could make it, and so he did:o)
I decided that I needed to make some really cute bedding to go along with it.
This Famerican Girl will be resting in style:o)
(I got a little impatient, and decided to take pictures before the hubs could get it stained..pics of the final product will come after X-mas)

This is my very first quilt to actually quilt myself. I found an easy tutorial at Mommy by day, Crafter by night. I was able to make this little quilt in about an hour and a half. The fabrics were from a fat quarter bundle purchased from the Hob.

The pillow was an absolute must as well:o)

Here is the under-side of the quilt.

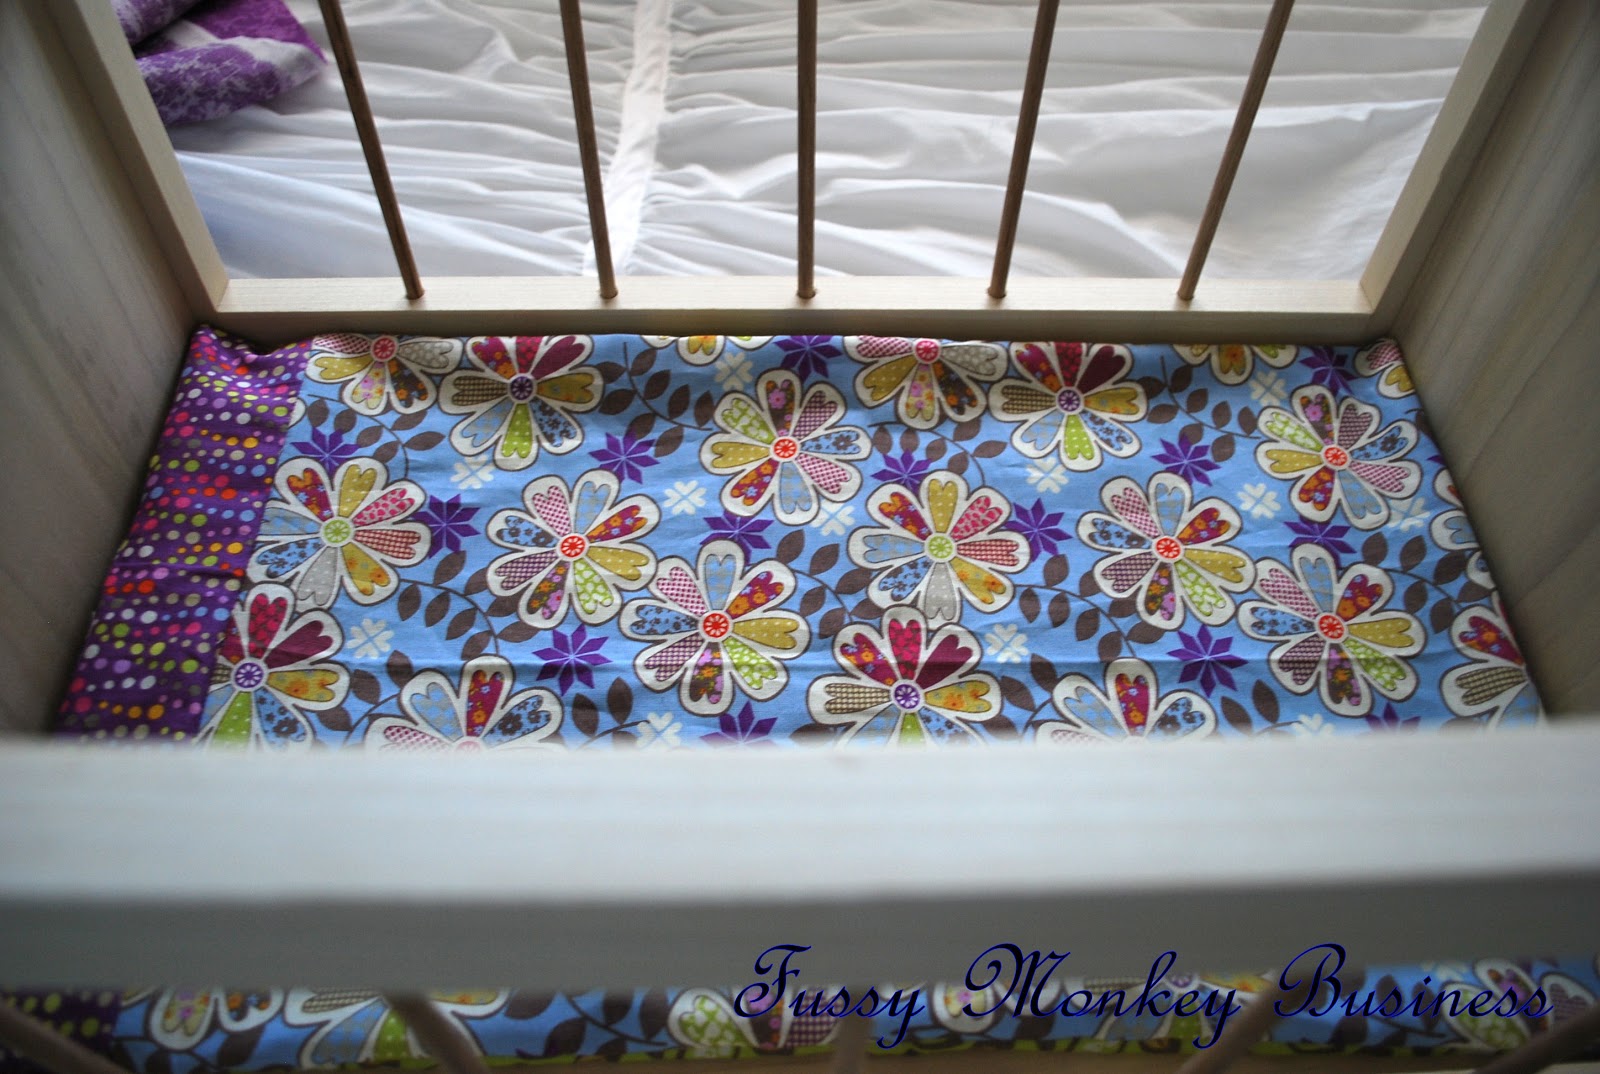
When I laid the quilt and pillow across the bed, the quilt wouldn't lay right. The spindles were in the way, and it just looked like it needed an extra something, so that's when I realized this bed needed a mattress.
This is sort of a tutorial, but not really a step-by-step because I was in a rush to get this done before S.R. got home from school yesterday:o)
I started with two fabrics, you could use the same fabric, but this was leftovers from the fat quarter pack, so I used what I had.

I stitched them together to form what looked like a pillow. I realized I didn't have enough to cover the base of the bed, so I had to add a strip across the top to lengthen it. Once it was re-stitched, I laid it across the bottom of the bed to make sure it fit.
I then stuffed it with poly-fil, and closed the end up by hand-stitching. I usually avoid any hand-stitching at all cost because I am too impatient. However, I really wanted this to look nice, so I bit the bullet, and used my little needle and thread.
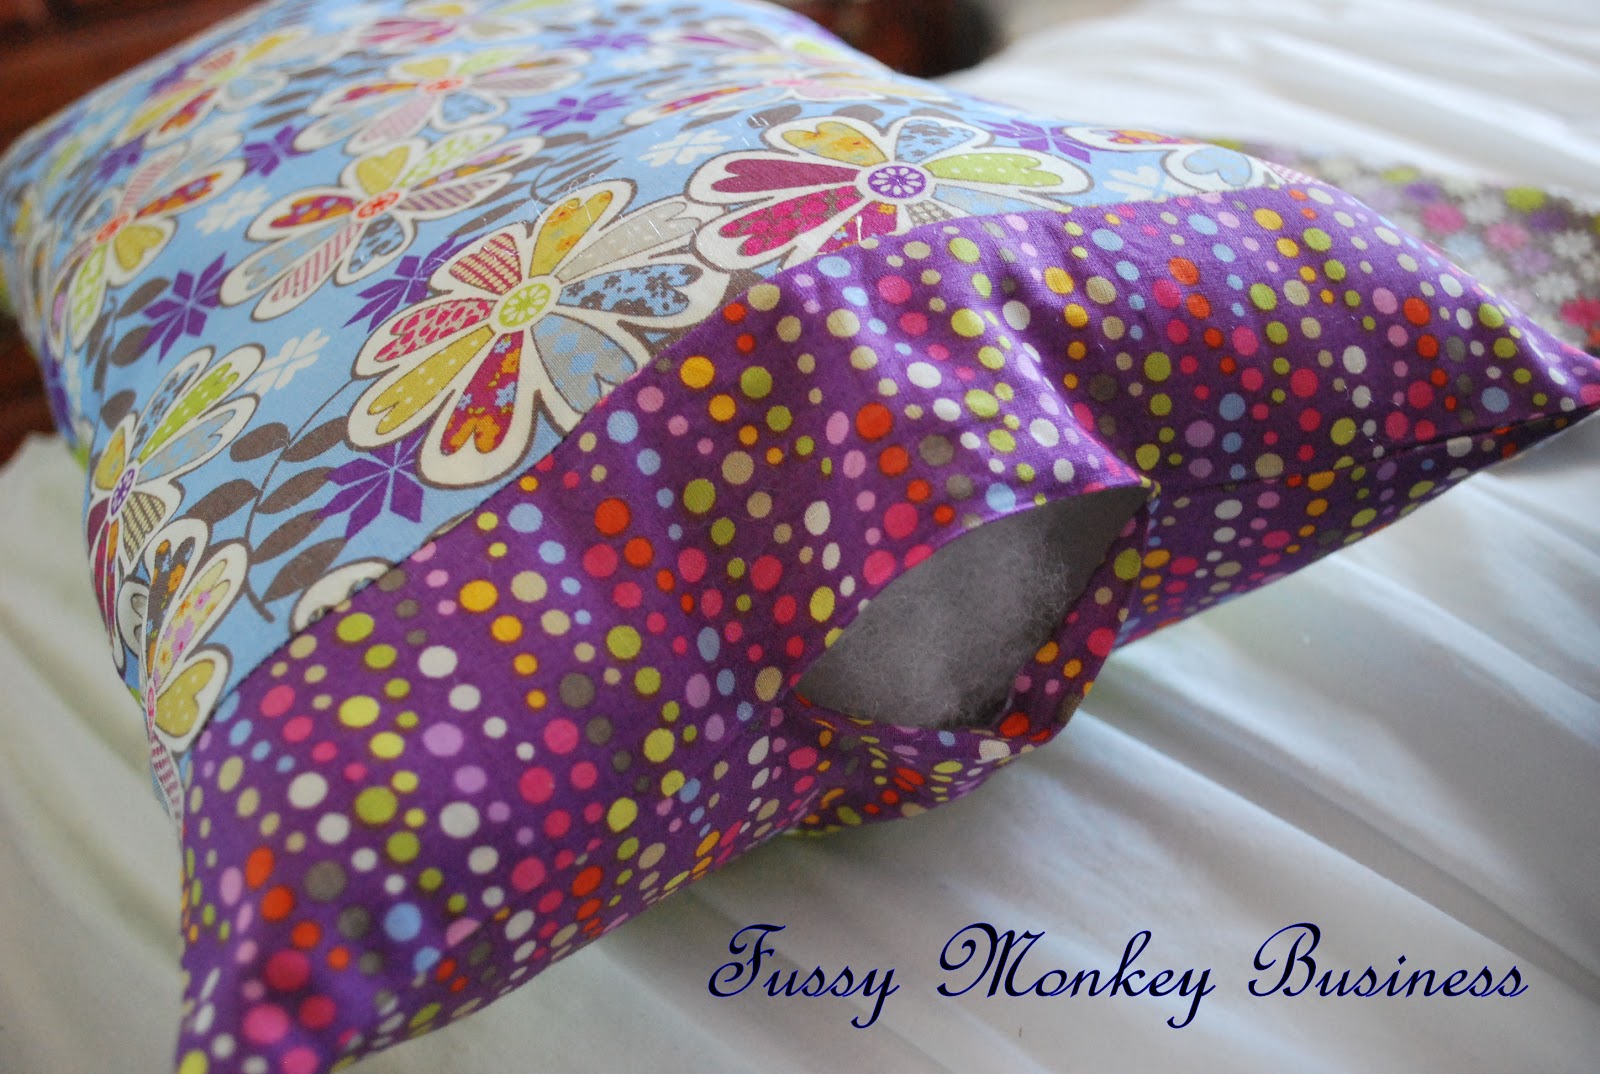
To prevent the mattress from looking like a big pillow shoved into the bed, I tufted it. I had a fabric button covering kit(is that what they're called??), and I used the purple polka dot fabric to cover the buttons. This task was a little more labor intensive. I used a long needle, and lots of patience. At one point, I really thought I was going to need a Band-Aid as well...OUCH!

This is the back-side of the mattress. Yes, I realize that there are two sets of buttons...why, you ask? Because this was a last minute project, and I didn't have time to go buy matching buttons:o) And, yes, it's staying that way.

So it's complete, and I am thrilled with the results.

Perfect for her Famerican Girl Doll!!


2 comments:
This is fantastic! My little girl would love it, well done!
Beautiful! I do not have an ounce of talent in the sweing department so I know how much talent you have and how much work this is!!
Post a Comment