Wednesday, November 30, 2011

My Home for the Holidays-Santa Hat Tree Topper Tutorial

One more day until December! Then the festivities will begin in this household! I am having a girls night in tomorrow night where we will be doing two different crafts and just hanging out. I can't wait!
I have been trying to put a few finishing touches on the house before tomorrow. I thought I would put a houndstooth hat on top of the hub's tree in the office, but being the cheap-o that I am, I decided to make a topper.The hubs suggested I make a Santa hat. Such a smarty he is:o)
So that's what I did.
Here is a quick tutorial on how to make your own Santa hat.
Start out with your choice of fabric for the body, fuzzy fabric for the pouf at the end and for the trim around the rim of the hat, and a Styrofoam ball.
 I had to add these pics in here...Scosche was spazzing while I was cutting the fabric...do you think he got weirded out over the fuzzy fabric:o)
 Isn't he such a sweetie?
 Back to business:o)
I folded the fabric in half and cut at an angle. The base of my hat is 20".
 The length is 16.25". There was no rhyme or reason for those measurements...that's just how I ended up cutting it...just a side note. I didn't cut the top into a point. I cut it with a blunt edge. There needs to be room at the top to slide the fabric covering the ball into.
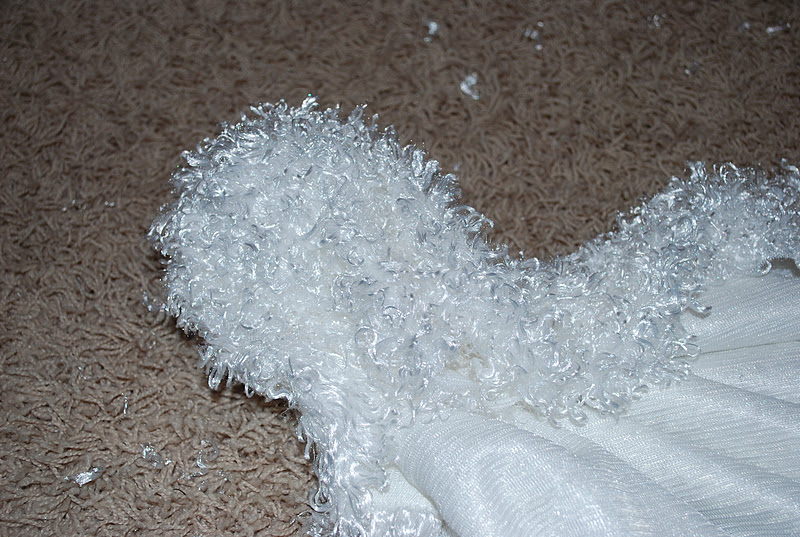
 Next lay your foam ball in the center of the fluffy fabric.
 Wrap fabric around ball, like so...and cut, making sure to leave enough fabric to hold onto.
 For the hat, put right sides of fabric together and stitch a 1/2" seam. Leave the end open so that the fluffy fabric with the ball inside will have a place to go.
 Tie the fabric off really tight that is holding the ball and slide it through the top of the hat. Using a really tough upholstery needle, stitch the pouf(fluffy ball) to the top of the hat. 
 There will be excess fabric, so trim that off.
Like this.
 This particular fabric doesn't fray, which is fantastic because there is no need for hemming! For the brim of the hat, I cut a 3" wide strip of fluffy fabric.. You will need to measure the brim of your hat to make sure of the exact length...making sure to add enough for a seam allowance. 
Stitch the ends of the fluffy strip together.
 Then stitch the band around the edge of the hat making sure that right sides are together.
 And voila..you have your very own Santa hat tree topper.
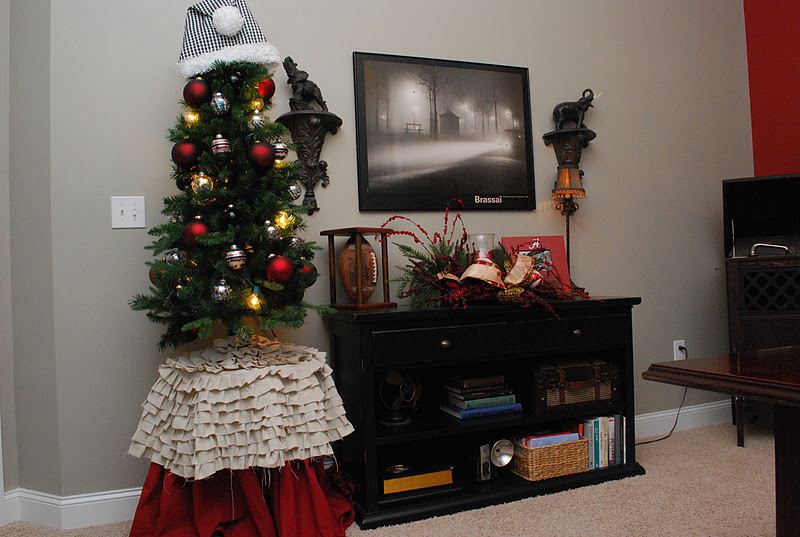
 Easy peasy:o)
 I hope you all have a wonderful Wednesday.
I look forward to sharing all the fun things we are doing for the month of December, so stay tuned!!!


Participating Here:

Monday, November 28, 2011

Christmas Count Down

Here is a cute printable I found via Pinterest.
To print this cutie, go to Inviting Printables, and follow the link.
I am having Costco print mine out. I can't wait to get it. The kids are really going to enjoy adding "puffs" to Santa's beard!

Letters to Santa

I am getting geared up for Christmas, are you? I have all the decorations up...except for one tree. That one will go up today, hopefully. I will be sharing my trees with you very soon.
I have been scouring the internet for fun ideas to celebrate with the kids. They keep talking about their Christmas lists, and what they want Santa to bring them. I googled Letter to Santa Template, and found some really cute printable letters to Santa. Here are just a few that I found.


To print these cute Santa letter, click the link below.

Have a great Cyber Monday...have you found any great deals? 

Saturday, November 26, 2011

Our Thanksgiving

I hope you all are having a great Thanksgiving weekend. We just got back from our trip to Fall Creek Falls with my family. We had a fantastic time! Here are a few pictures from our adventures.


 This particular waterfall is called Piney Falls. This was the first time that we had ventured out to this waterfall...and we took the kids with us...crazy, I know:o)
 Beautiful, isn't it?
 Here is the view from across the gorge.
A certain little man was trying to talk his daddy into letting him go down the water fall in a boat...but a soft boat because that would make it more safe:o)
 Here, his daddy(the hubs) is trying to explain how gravity and force work together when water is involved.
 Daddy isn't impressed with this 5 year old's logic...don't you love how his hands are behind his back? Such a little man:o)
 In this particular picture the 5 year old...E...says"Well, what about the fish?" The hubs' response,"The fish are smart enough to stay away from the edge."
 Here E is pouting because he can't take a soft boat over the edge of a 100 FOOT WATERFALL!!
 Just so pitiful, isn't it? Mean ole daddy:o)

 S.R...a.k.a. Little Miss Stinker Pants, is trying to sneak up to daddy to take a peak over the edge. I thought my brother and the hubs were going to have a heart attack..do you see the the stink in those eyes?:o)
 I love this picture. Two peas in a pod!
 I have the most awesomest family!!!
 Here is the treacherous terrain we climbed through..at times the kids were riding our backs through this forest.


Oh and here is Flower the duck..E named it...not sure what the gender of the duck is:o) But that doesn't matter when a 5 and 3 year old are involved. 
We had a great time this weekend. It was so nice to slow down and just be surrounded by family. I truly enjoyed my family this weekend, and realized yet again, what a blessed girl I am!
I hope you all enjoyed your blessings this weekend as much as I did.

Saturday, November 19, 2011

What do you do when you don't have an egg?

You find a substitute!!

I went to Target today for clothes and food....and for some strange reason, there were absolutely no eggs...strange, I know. Tonight we are having Cheesy Potato soup and I wanted some Jiffy cornbread to go with...but I have no eggs. I did a google search and came across these substitutes. I thought I would share them with you all just in case you ever get caught without an egg:o)

Egg Substitutions:
1 egg = 2 tablespoons liquid + 2 tablespoons flour + ½ tablespoon shortening + ½ teaspoon baking powder (Recipe from Substituting Ingredients by Becky Sue Epstein and Hilary Dole Klein. See my sources. Add one or two drops of yellow food coloring if desired.) 

OR egg substitute (Substitute 1/4 cup egg substitute for each egg. Using egg substitute in place of eggs tends to make baked goods rubbery, because egg substitute has no fat. To improve the product's texture, add one teaspoon of canola oil for each egg replaced. Egg substitute can't be whipped and is much more expensive than regular eggs. It doesn't work well in cheesecakes. For more information, visit the Illinois Cooperative Extension Service's Egg Substitutes page; for a recipe, visit its Homemade Egg Substitute page) 

OR egg whites (Substitute 2 egg whites for each whole egg. This substitution may make baked goods less tender. To compensate, try adding 1 teaspoon of oil per egg called for in recipe.) 

OR flaxmeal (Make flaxmeal by grinding flaxseed in a blender until it has the consistency of cornmeal. Use two tablespoons flaxmeal plus 1/8 teaspoon baking powder plus 3 tablespoons water for each egg called for in recipe. 

OR egg yolks (Higher in fat, but increasing the egg yolks in a baked good often makes it moister and more flavorful.) 

OR gelatin (To replace each egg: Dissolve 1 tablespoon unflavored gelatin in 1 tablespoon cold water, then add 2 tablespoons boiling water. Beat vigorously until frothy.) 

OR cornstarch (Substitute 1 tablespoon cornstarch plus 3 tablespoons water for each egg called for in recipe. 

OR mayonnaise (Substitute 3 tablespoons mayonnaise for each egg called for in recipe.) 

OR Ener-G Egg Replacer (Substitute 1 1/2 teaspoons Egg Replacer plus 2 tablespoons water for each egg called for in recipe.) 

OR bananas (Substitute 1/2 of a mashed ripe banana plus 1/4 teaspoon baking powder for each egg.) 

OR silken tofu (Substitute 1/4 cup tofu for each egg.) 

OR fruit-based fat substitutes (Substitute 2 tablespoons fat substitute for each egg in recipe.)


Source(s):

foodsubs.com

Thursday, November 17, 2011

Chocolate Frosting Recipe

I have been in the baked goods mood again:o) But thankfully I didn't have to bake anything this time because I had some cupcakes in the freezer. I decided that I was in desperate need of chocolate on my cupcakes, and thankfully I had the ingredients in my pantry to make some homemade icing.
This recipe came off of the back of my Hershey's Cocoa box. It's called "Perfectly" chocolate frosting...or something like that:o)

1/2 cup butter(1 stick)

2/3 cup cocoa 
3 cups powdered sugar
1/3 cup milk
1 teaspoon vanilla extract


This recipe truly is "perfect!" 

Wednesday, November 16, 2011

View That Holy City

Here is one of my favorite songs from our song book. It makes you wanna hop up out of your seat while singing it:o)


Now this version makes you want to jump out in the aisle and get crazy...this version is the more spirited version...I LIKE it;o)


We have been under the weather this week with a bug, so I haven't really been in the mood for crafting. We are well now, but I am swamped with hair stylist duties..I have a teacher gift in my head and I am looking forward to creating and sharing it with you all. I am hoping to get that done this weekend.
As far as the Christmas tree update...I now have 3 trees up..only 2 of which are decorated...4 more to go..yes, I know...sick;o)

Friday, November 11, 2011

Family Photos

I am so excited to share our family photos that we had made. I hope you all have a great weekend! See you next week!