Showing posts with label kids crafts. Show all posts

Wednesday, December 10, 2014

Christmas Decor 2014

This year I decided to do things a little different when it came to decorating for Christmas. Not only did I change the color scheme, but I didn't put nearly as much out.
Mainly because I am lazy. 
I have found that with homeschooling, I just don't have the time to do what I used to do. My priorities have changed drastically, and the things I used to think were important, aren't as important now.
 So we have the main tree in the living room, and the kids have their trees in the bedrooms.
The hubs wanted some color on the Christmas tree this year, and color he got.
This is definitely much different from our tree in the past.
Our Home in 2012

And now our tree in 2014.

 I really like it. It's fun, and cheerful. 
It sort of reminds me of Thing 1 and Thing 2 from Dr. Seuss. 
We had a little red from last year, so all I needed to do was add a little turquoise.
We have had so many compliments on our tree.

I made this wreath two years ago, and have slowly added more items to it. Last year, I had it on the front door. I didn't want to spend any more money on Christmas decor, but I needed something on the mantel, so I moved the wreath inside. I think it finishes off the whole look. 
I didn't do any greenery on the mantel this year because it felt a little cluttered. 


I did a little decorating to the front entry table, but again, it's very minimal.
 We have been doing a Christmas craft a day in December, and the kids made stained glass ornaments the other day. I found this craft kit in the clearance section at Target after Christmas last year. They had fun making them, and I think they turned out beautiful.
We are focusing on service projects for the month of December. We are going to be sewing and baking, and visiting. 
The kids are really excited about all of it.

In my next post, I'll share what our sneaky elf, Snarf, has been up to.
Thanks for stopping by!

Participating in:

Tuesday, January 28, 2014

100 Days of School Projects

Are you all staying warm? We are making a go at it. 
We got a little more snow this morning along with a 2 hour delay for schools because of the frigid temperatures. What a weird winter it has been this year!
Today was class picture day, so I grabbed a quick shot of the kids with the snow. Can you tell they were freezing?!
Last week, the kids hit a milestone for the school year. They hit the 100 day mark. To celebrate, they had projects for homework. Gotta love it, right?
E had a Krispy Kreme doughnut hat that he had to glue 100 items on. He decided to be a parrot. We glued the feathers on, and colored a picture of Blue off of Rio...I know he is a blue macaw, but it worked for what we were doing. Unfortunately after gluing all the feathers on, we realized that the hat wouldn't fit his big noggin'. 
But he still looked cute!
 S.R. wanted to make a baby doll blanket for her 100 Days project.
She actually helped out quite a bit in making this blanket.
 She got this sewing machine for Christmas, and was super excited to finally get to use it.
She did a great job keeping a straight line, too!
 The quilt has 100 circles, in case you were wondering;o)
They were very proud of their projects and grateful for the help I gave them. It always makes my heart proud when my children show gratitude!
And speaking of projects, I am finally tackling the playroom. We are turning it into a home-school room for next school year...yep, you read right. We will be homeschooling...ahh! 
So, there are a lot of projects that need to be done, and I am going to hopefully get most of them accomplished before school ends for the summer.
I'll share what all we have planned for the room in my next post.
Until then, stay warm!!


Wednesday, January 22, 2014

Monster Doll Tutorial


Cut List
Head- 5 1/2"x 5 1/2"(2)
Neck- 3"x 2"(2)
Body- 8"x 8"(2)
Legs- 11"x 2 1/2" (4)
Arms- 9"x 2 1/2"(4)
Mouth-I used some scrap chevron I had lying around.
Eyes-2" 2 Circles from white fabric and 2 from felt with adhesive(found at Hobby Lobby)
1/4" seam allowance throughout the entire project.
You will also need Lite Heat Bond, and Black Fabric Paint


Finger press the head to find the center.

Place the eyes near the crease.
Apply the eyes and mouth using the heat bond and your iron.
Once it has cooled, take it to your machine and stitch to secure.

Next stitch the neck to the bottom of the head.
And then the neck to the body.
You will repeat the previous steps for the head neck and body for the backside of the monster as well.
Press necks seams inward.
Now, you will need to mark off the areas where the arms and legs will go. Measure 1" down from the shoulder and mark. Then 1 3/4" down from the first mark, as shown below with red dots.
You will do the same for the legs, 1" in and 1 3/4" apart.
Stitch front and back of monster with right sides together, making sure to back stitch at each dot, and leave the openings for the arms and legs open.
The bottom will be left completely open so you can stuff it at the end.

Turn right side out and press.
Stitch arms and legs together leaving one end open. 
Stuff the arms and legs.
You will then attach the arms and legs to the body. Make sure to pay attention to which are the arms and which are the legs:o)
Once you have attached them, you will stuff the head and body of the monster.
When you have it where you want it, then stitch the bottom up.
The last thing you will do is to color in the eyes with the black fabric paint. I used a 1/2" circle and decided I wanted the eyes to be a little wonky.
E was so happy to get a monster, and he now sleeps in his bed and helps to keep the "real" monsters away!
Will you be making a monster to keep the "real monsters" away?

Wednesday, March 6, 2013

Basketball Picture Frame

This year the hubs and I coached E's Upward Basketball team. It was filled with lots of surprises, and it was a lot of hard work, but all 5 boys seemed to have a great time playing.
We had the awards night this week, and I wanted to give them something special. I'm not a fan of trophies, and at this age, the trophies usually are broken to bits within the first few days of receiving them.
After our very last game, I got a candid shot of the boys. 
I decided that I would make picture frames for the boys as their gift.

I found all of the items at Hobby Lobby.
-Picture Frame
-Purple Spray Paint
-Wooden Basketball Cut-out
-Hot Glue Gun(had on hand)


I laid the frames(minus the glass and backing) on a cardboard box outside where there was plenty of ventilation.
 

I sprayed 3 coats of purple Krylon paint on the frames..waiting 10 minutes between each coat.


Once they were dry, I glued the little basketball guy to the corner of the frame making sure not to let it hang too low across the bottom. 
Now they will have something to look back on and smile about...it's not a faceless trophy, but a keepsake to help them remember the friendships that they developed in their very first basketball season.


Saturday, December 22, 2012

18" Doll Bed, Quilt, Pillow and a Mattress Tutorial

Are you guys ready for Christmas yet? Do you have all of your gifts bought, wrapped and tucked neatly under the tree? We are done for the most part. I think I am going to make one more thing for E and then we will be done. 
Today's post is about what we(the hubs and I) made for S.R.
She has asked for an American Girl Doll for Christmas this year. She is 4 years old...she ain't gettin' an American Girl Doll. However, she is getting a "Famerican" Girl Doll...(Faux-American). Ole Santy Claus is bringing her the doll from Target that looks just like the real deal, and it's 1/3 the cost.
So, I came across a really cool building plan for a doll bed on Ana White's Blog. It is perfect!
I knew the hubs could make it, and so he did:o) 
I decided that I needed to make some really cute bedding to go along with it. 
This Famerican Girl will be resting in style:o)
(I got a little impatient, and decided to take pictures before the hubs could get it stained..pics of the final product will come after X-mas)
This is my very first quilt to actually quilt myself. I found an easy tutorial at Mommy by day, Crafter by night. I was able to make this little quilt in about an hour and a half. The fabrics were from a fat quarter bundle purchased from the Hob.
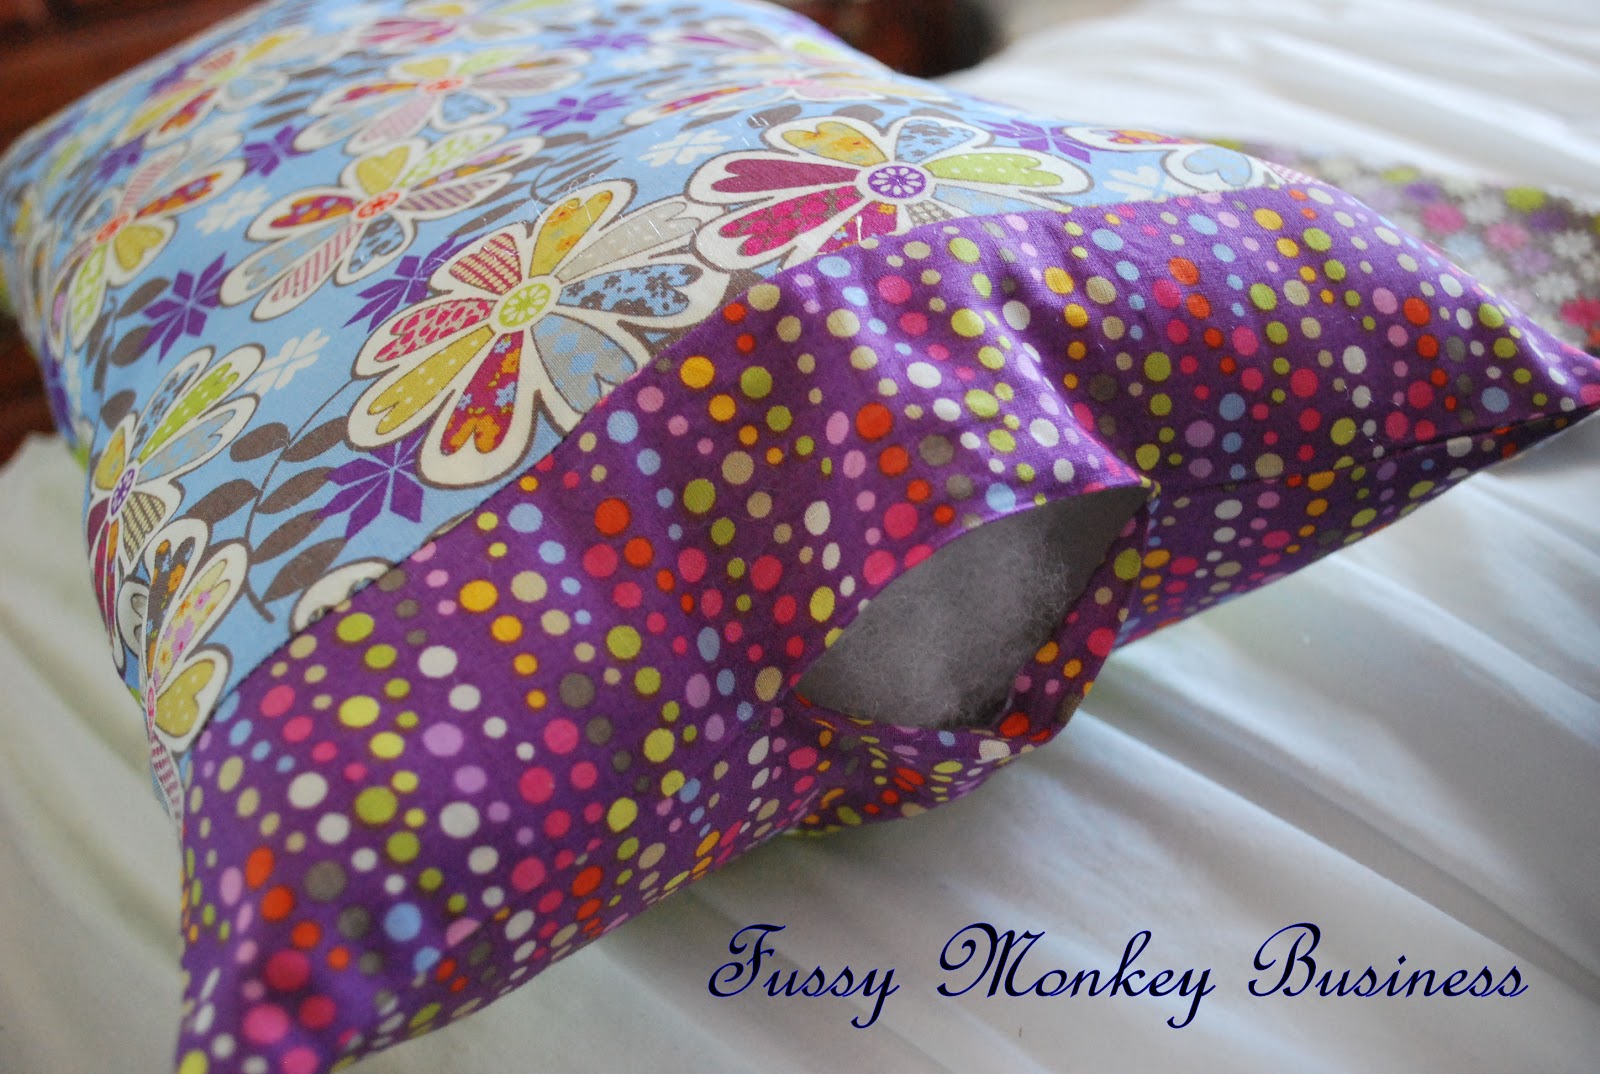
 The pillow was an absolute must as well:o)
 Here is the under-side of the quilt.
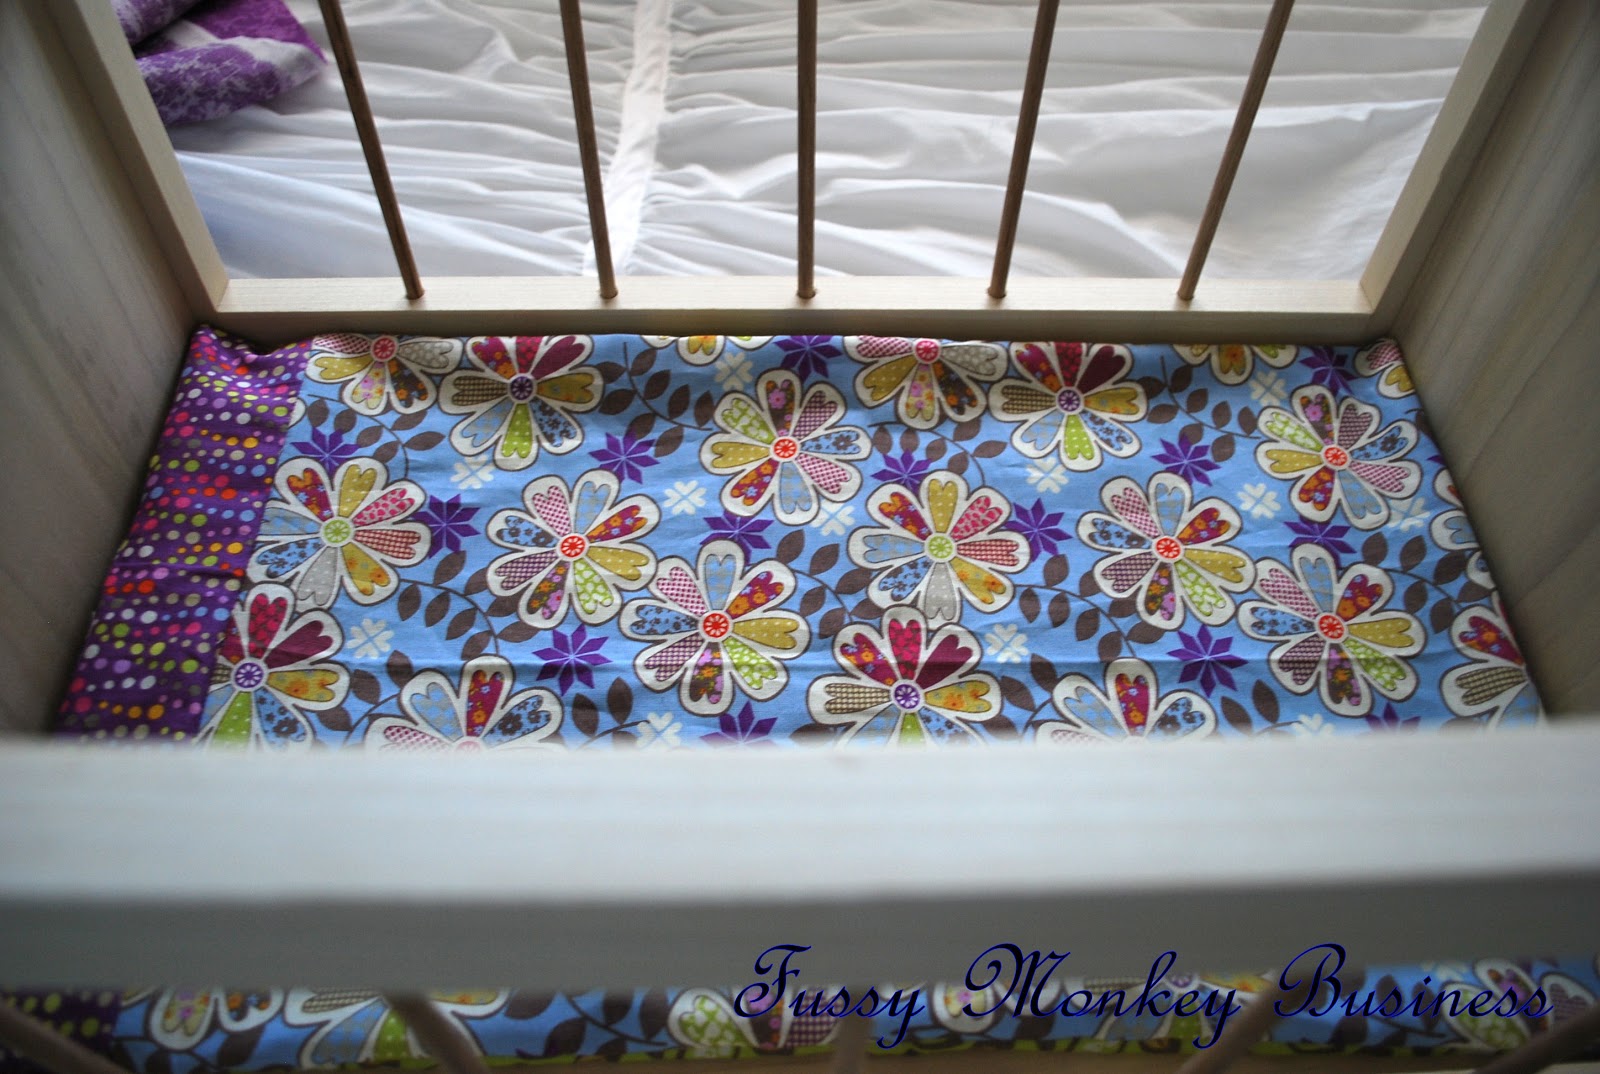
When I laid the quilt and pillow across the bed, the quilt wouldn't lay right. The spindles were in the way, and it just looked like it needed an extra something, so that's when I realized this bed needed a mattress.
This is sort of a tutorial, but not really a step-by-step because I was in a rush to get this done before S.R. got home from school yesterday:o)
I started with two fabrics, you could use the same fabric, but this was leftovers from the fat quarter pack, so I used what I had.
I stitched them together to form what looked like a pillow. I realized I didn't have enough to cover the base of the bed, so I had to add a strip across the top to lengthen it. Once it was re-stitched, I laid it across the bottom of the bed to make sure it fit.
I then stuffed it with poly-fil, and closed the end up by hand-stitching. I usually avoid any hand-stitching at all cost because I am too impatient. However, I really wanted this to look nice, so I bit the bullet, and used my little needle and thread. 
To prevent the mattress from looking like a big pillow shoved into the bed, I tufted it. I had a fabric button covering kit(is that what they're called??), and I used the purple polka dot fabric to cover the buttons. This task was a little more labor intensive. I used a long needle, and lots of patience. At one point, I really thought I was going to need a Band-Aid as well...OUCH! 
This is the back-side of the mattress. Yes, I realize that there are two sets of buttons...why, you ask? Because this was a last minute project, and I didn't have time to go buy matching buttons:o) And, yes, it's staying that way.
So it's complete, and I am thrilled with the results. 
 Perfect for her Famerican Girl Doll!!
Participating in these parties:
Classy Clutter