Showing posts with label Tuesday Tutorials. Show all posts

Tuesday, September 21, 2010

Bible Cover Tutorial

I have been dying to have a Bible cover for the longest time, but have never gotten around to making one. I always have a thousand things on my to-do list and never remember to make a Bible Cover until I am sitting in church. Well I finally took the time to make one during nap time. I already have one, but it's store bought, and boring. I wanted something a little more flashy...sounds like something I really need in worship...huh?;o)
Anyway, I thought I would put together a tute for any of you who might want to make one of these yourselves.
Here's what you need:
1/2 yard of fabric
Double Fold Bias Tape
Thread
Low Pile Batting
Velcro
My Bible measures at 15"x10". When I decided to make this cover, I wanted to make it as simple as possible. I only have a short period of time to work with since nap time is getting shorter and shorter these days:o)
Here's the break down of how to assemble the cover
Cut your fabric according to the dimensions of you Bible.
You will need:
 2 Large rectangles (front cover and inside cover) size will depend on Bible measurements
1 rectangle cut to size of covers from batting
2 straps measuring 4"x 22"
2 pockets. My pockets were 10 1/4" tall by 4" wide
2 -3 1/2"x10" rectangles for enclosure
You will need to sandwich the batting between the two large rectangles, right sides facing outward.
Now I never pin anything together b/c I am lazy, and I have lost a lot of machine needles from sewing across pins. But for this, I did pin. Only because when quilting, the fabric will move and nobody wants to take the time to pick out all those stitches:o) So starting from left to right pin the fabric in place, and make sure the fabric is laying flat, and that there isn't any bunching.
Now quilt. I kept my seams about an inch and half from one another. One tip to remember when quilting. Roll the fabric up, so that it's easier to feed the material thru so that you can keep a straight stitch.
When you have sewn all your squares, there will be some fabric that is hanging over, like the picture below.
Trim that off. You want all the edges to be the same.
Next you will want to prepare the straps, pockets and the enclosure. For the straps, just use your iron to press it into place.
Fold in half length wise. Press.
Fold the outer edges in and press.
Sew a seam as close to the edge as possible but making sure to catch all of the fabric.
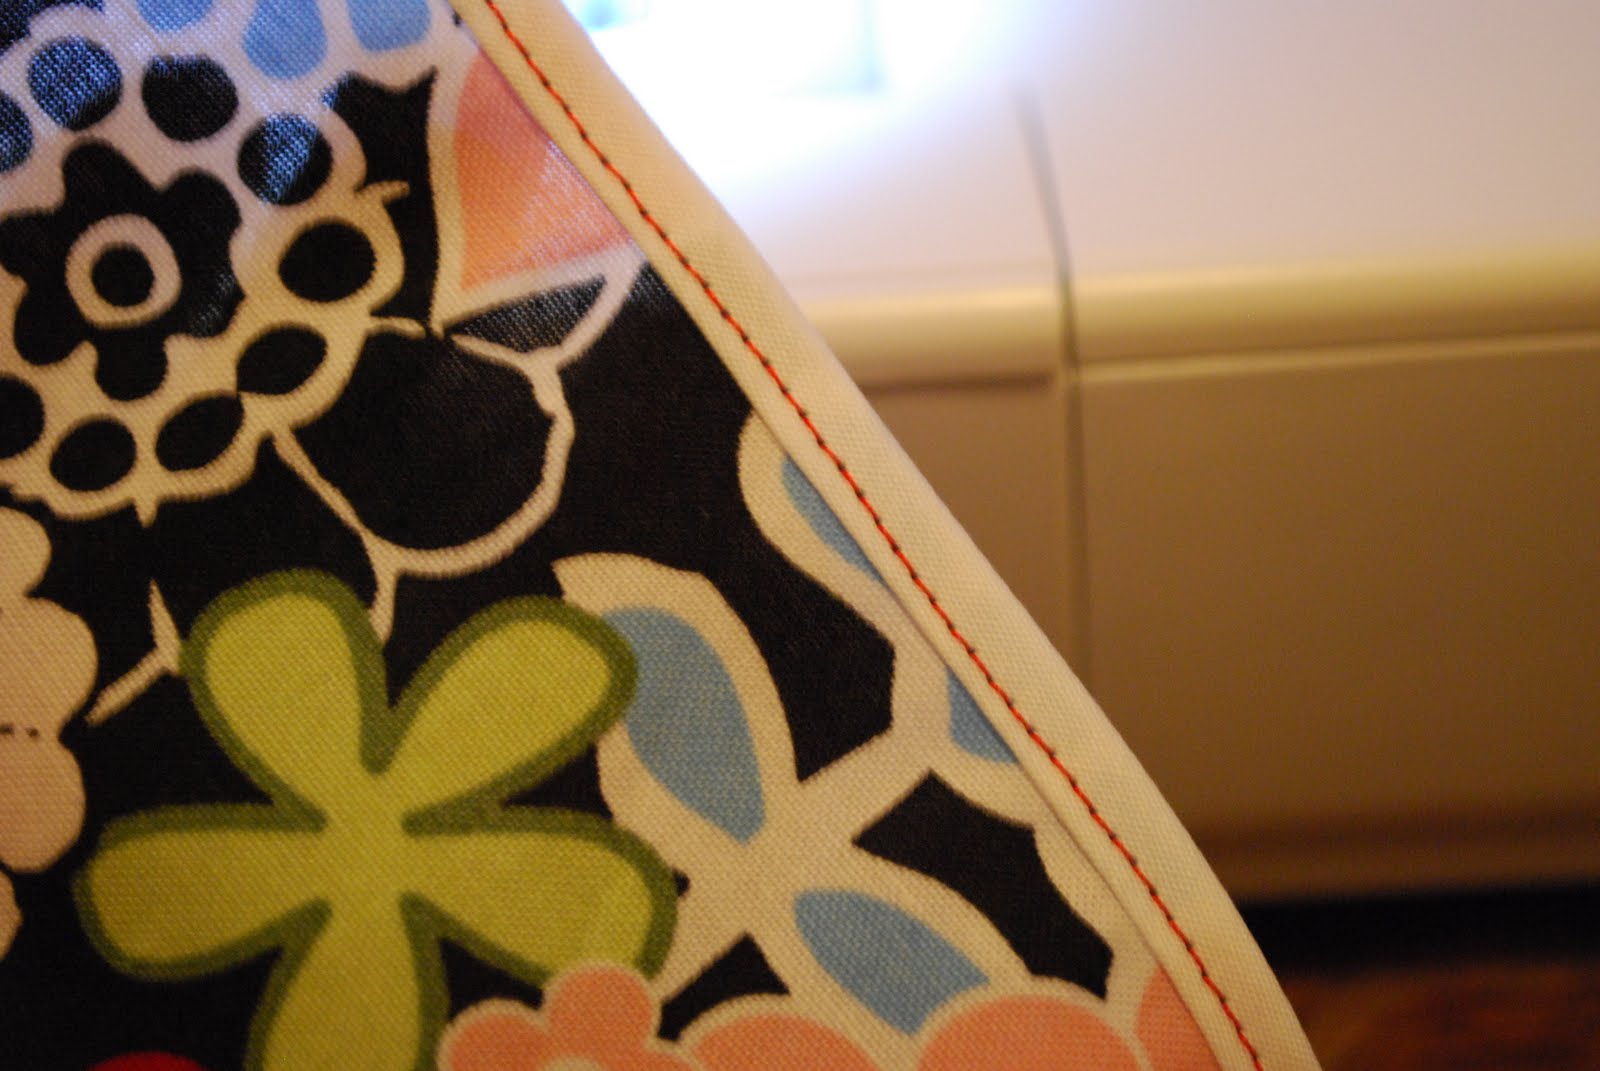
The pockets for the inside of the cover will need some bias tape. All you do here is open the bias tape up, and slide the raw edge of your fabric inside and stitch.
The enclosure is simple. Place right sides together. Run a 5/8" seam around the two long sides and one short side, leaving the other short side open.
Trim corners off
Turn right side out and press.
Now it's time to put everything together. You will want to line everything up where it's supposed to go and use a basting stitch to hold it all in place. So much easier than trying to pin everything:o)
(A basting stitch is the one where the stitches are wider and further apart)

Time for the bias tape. Now I tried using a 1/4" wide tape,and boy was that a mistake. I ended up using a 1/4" tape on the pockets and a 1/2" tape on the outer edges. Do it the same way you did the pockets, just open it up and keep all raw edges inside the tape. The corners are a little tricky so go slow there:o)
And here is the finished product.
I didn't put the velcro on until the very end because I needed to see how far the enclosure would overlap. I used the bow and button to cover the stitches from the velcro.
I love that the straps are long enough that I can carry it on my shoulder...now I have my hands free to carry little ones or their treasures from Bible class:o)
Let me know what you think...I am really digging this:o)

Tuesday, September 7, 2010

Pillow Tutorial and a Toy Barn


Sorry that this post is coming so late in the day. I normally can get my act together, but there is a lot going on this week. I have the Cultural Arts Fair on Thursday, and on Saturday we will be celebrating E's birthday(a few days early:o)).
So I am posting a quick tutorial on how to make a pillow in the easiest way possible using place mats.
I found these place mats at T J Maxx for $5.99 for the pair. I really liked the texture of the faux leather.

So all that you do is rip the seams out of one end of the place mat, and stuff it with poly fil.
Then sew a straight seam up the side, and you're done!

Easy peasy:o)
I am going to use this pillow tute as part of my demonstration on Thursday for the C.A.F.

Here is a toy barn that I will be entering in the Toy category:
 Closed
Open. 
I found the cute little animals at Target. I searched every where that I could think of for farm animals, and Target was the 4th place on the list to look. I almost didn't find them either...So glad I did. I don't expect this to win anything, but I did want to get it done for E's birthday, so I used the C.A.F. as my deadline. I figured why not enter it anyway:o) It's not that impressive...for the full tutorial, visit UK Lass in US. I actually didn't really follow the directions like I was supposed to, so it didn't really turn out the way it should have:o) Guess that's what happens when you have too many things to do and not enough time to do them in.

I know that I said I would have a give away ready for today, but I just don't. There are too many things that I am semi-focused on(b/c I have a hard time fully focusing), that I just haven't gotten a give away together. Be on the look out though. I do have in mind what I want to do. It's just finding the time to do it:o) Hope to be sharing some of E's party stuff the rest of the week. 

Tuesday, August 3, 2010

Tuesday Tutorial-How to Make a Topiary


I love topiaries. I think they add just that extra touch to a grouping. I have never bought any because I always thought that they were a little pricey. Well now I know why:o) More on that in a minute...
I have been eyeing these topiaries in the Ballard Design catalog for quite a while now.
Each one starts at $19 and goes up to $29. I am not willing to pay that. I am cheap. I know that about myself. So I thought I would try to make one. I have had the stuff to do it for a few days, but couldn't find the time to sit and put it together until 5 a.m. yesterday...yes you read right...my wonderful son woke up at 4 A.M. hollering for me, telling me to come here right now. When I finally made it to his room, stumbling, trying to walk straight since my legs were still in bed, he informed me that he wanted Daddy???? WHAT!! After making sure that he understood that everyone in the house was asleep but us, I tried to go back to sleep....after an hour of tossing and turning I decided to head to my craft closet. I saw all the supplies for the topiary lying on the floor and thought why not tackle this now, with no interruptions. So here's what you need.
-1 Styrofoam ball (I used a 3" ball, but you could use a smaller one)
-Greenery, get the good stuff. Mine came from H.L. and it was $15.99 BEFORE the 50% off sale.
-Patience
-Hand Saw
-Tree
-Small Pot
-Styrofoam for pot
-A little green stuff for inside the pot
Pull or cut off pieces to stick down in ball. The greenery that I purchased was nice b/c the pieces just pulled right off of the stems. They were between 3" and 4" long. I just shoved them down in the ball....didn't use a glue gun, just shoved them in far enough to stick. Make sure to keep the pieces fairly close. This will take about an hour:o)
When you have neared the end, make sure to leave a space for your stick. You will find said stick out in your yard. This is where the hand saw comes into play. 


Find the nearest tree that has some firm branches about a half inch thick and are somewhat straight, and hack it off. Force it in the bottom of the ball, making sure to put it in straight:o) Place Styrofoam in the bottom of the pot, and force the other end of the stick in the foam.Cover the base of the topiary with moss. I had some sitting in another basket, so I borrowed some from it;o) The pot was something I had in the backyard with a dead plant in it. I just spray painted it and it was good to go.


I really like how it turned out. This topiary cost less than $10 to make, but it was time consuming, so that may be why these things are so stinking expensive:o)


I think it works nicely on the mantle. I have plans to make a sign to put in front of the headboard. I just need some old wood....got any?;o)


Well that's it for Tuesday Tutes....my "Powder Room" is almost complete. I found a lot of good stuff from H.L. today. Just a few more finishing touches before the big reveal.

Tuesday, July 6, 2010

Tuesday Tutorials-Distressing Curtain Rod Holders..& a Sneak Peak

Sorry that I am late with the tute:o) The kids have been a little sick, and I just now was able to muster up the energy to sit down and type. This isn't much of a tutorial, but I think you'll get the general idea. So....
Here are some curtain rod hangers that I bought at a yard sale last year. I haven't known quite what to do with them, until I realized that nothing is safe when there is spray paint around:o)
The before picture does not exist b/c I didn't take one, but I did not take the time to spray the back, so this is what the finish was:
A sort of dark cherry finish. I think I bought all 4 for $5, maybe??
Anyway, I spray painted them with some white that I had out in the garage and they all turned out like this:
Now, I thought that would be it...hang 'em and be done. Then I realized that I missed....a lot....which you can't tell from this pic:o) So I decided that I would distress them. That way you would never be able to tell the difference. All you need is some sand paper. Rough up all the edges and make sure to really dig thru the recessed parts. Take as little or as much as you please and you should come up with something that looks a little like this:
I didn't take too much off. Just enough:o)
All four beauts:o)
And now for a sneak peek of the wall color...
Oh yeah, and you can see the rod holders hung:o) I haven't quite got all of the accessorization done, so you'll have to wait  a tiny bit longer;o) I know the suspense is killing you:o)

Tuesday, June 29, 2010

Tuesday Tutorial-Vacation Countdown Calendar

Hello My Peeps!  I hope that you all are having a wondermous day:o) I am utterly exhausted, but completely in love...with my new wall color! I got the paint on the walls yesterday, and I feel comforted by the sweet "Comfort Gray." I can't wait to reveal my "new" living room. Not sure when it will be ready since I am rearranging furniture:o) 
Anyway, today is Tuesday Tutorial Day, and I saw this tute on another blog called U Create. Kari is featuring Stephanie Lynn from Under the Table Dreaming who shows us how to make a  Vacation Countdown Calendar.
(sorry there isn't a picture)
Definitely check it out! It's super cute! 
******
Tomorrow I will be announcing what the giveaway will be, so stay tuned!!! 

Tuesday, June 22, 2010

Tuesdays Tutorial-Pillow Case Dress

It's Tuesday Tutorial Time!!!
 I have been looking forward to sharing this tute with you. A friend of mine from high school requested that I do a tutorial on how to make a pillow case dress, and thankfully she is a patient woman;o) It took me a couple of weeks, since things around here haven't been exactly slow:o) 
I am always looking for an excuse to make S.R. a new dress, and I new that she would need something to wear for the 4th, so I thought this would be the perfect time to make the pillow case dress. And the great thing about it was that I already had everything on hand, so I can stick to my vow of not buying any new projects for the month of June:o) Aren't you proud?!?!?!?;o)
Just a warning...There are TONS of pictures in this post. So without further adieu, I give you the tute:
 
I didn't want this to be a plain pillowcase dress that looked like I cut some holes in a pillowcase, strung some ribbon thru the neck and called it a day. I really wanted a little something added to it. I had leftover fabric from the Cherry Outfit. So I used the red gingham for the center front and center back. The checked with stars fabric I had from about two years ago when I thought I was going to make this fabulous rag quilt that never came into existence;o)
My mother gave me an endless amount of ribbon the other day that was left over from an estate sale that she had hosted, so I was glad that there was some blue in the stash:o) 
So your supplies list should include:
-Fabric(1-3 different prints)
-Grosgrain Ribbon(1"-2" wide)
-Single Fold Bias Tape(coordinating color)
-And the obvious:thread, machine, scissors, seam ripper,measuring tape, pins, patience;o)
So let's get started!
(these measurements are for a 3T size dress, adjust measurements as you see fit)
Choose which fabric will be the center of the dress. Mine was the red and white gingham. Cut 2 at 6"x22". Next you will cut your secondary fabric. Cut 2 at 14"x22".
 With right sides facing, stitch together center piece to side piece using a 1/4" inseam.
Do this on all sides until you come up with this:
Press open each seam.
This is what it should look like turned right side out.
 Next, you will be using your iron. Turn the fabric inside out again and grab your measuring tape. Fold the top of the dress 2" down, making sure that it's even all the way across. Press.
 Sorry for the shadow. I think a stray curl got in front of the flash:o) Next, you will press under the raw edge a 1/2", making the top 1 1/2" wide.
 The next part is kinda tricky if you don't have a pattern. The other day I ran across a new blog that I am really excited about. It's called Whimsy Couture and she has a lot of great patterns, and I purchased this one. 
It included the arm holes for each size which was GREAT! She actually has this pattern 50% off right now, and it's emailed to you after payment. Definitely check it out.
 So if you are wanting to try it for yourself, I would measure across the chest from inside the shoulders, and then measure under the arms across the chest. Write those numbers down and that way you would know what angle to cut your curve on....probably doesn't make much sense...I apologize:( The easiest thing is to buy from Whimsy Couture;o)
Now that we have the arm hole cut, it's time to head back to the ironing board. But this time you will need your single fold bias tape.
Can you tell how old this stuff is? Check out the "do" on this chick-a-dee;o) That was mean....:o)
Anyway, grab your iron and press open one side of the tape. Now this part was a little tricky the very first time I attempted this, so I will try to explain a little better than McCall's did:o)
Once you have opened up one side of your tape, grab your dress and your pins, and start pinning the arm holes. You want to pin on the right side of the fabric with raw edges matching. See pic below, and notice that I have unfolded the top edges that we pressed down to hold the ribbon: 
Can you see how the folded edge is on the bottom? Head to the machine. There is still a line where the tape had been folded before you pressed it. Use that line as a guide for your stitch line, making sure to remove pins as you approach them.
Now that the tape has been stitched in place, turn it in towards the wrong side of the dress and press. This is what it should look like:

Back to the machine and stitch the tape in place staying close to the edge of the tape. Once you have stitched that, it's time to work on the top again where the ribbon will go.
Just press it back into place like this:
Stitch across the bottom, staying close to the edge. Then run your ribbon thru.
Now for the ruffle. When cutting this, you will basically double the width of the dress. I cut a 6'x8" strip. Fold the 8" width in half and press.
 Next, you will baste the raw edges. Basting is a long stitch, and you may want to loosen the thread tension.
This is a picture of my machine and showing the baste stitch.
When stitching stay close to the edge, but not too close. 
I have two little lines on the presser foot(which are hard to see in this picture) and I use the inside line as my guide when basting. Be careful not to go too fast b/c the fabric can get away from you:o)
This is what the stitching should look like when finished.
At the end of the fabric there should be a little thread hanging off, this is what you will be tugging on.
Pull on one of the strings gently. The fabric will start to bunch up. Slide it down the thread and this will create the ruffle.
Sew the ends together. Grab the dress and your pins again. With the dress facing right side out, you will be pinning the ruffle on the bottom of the dress in the same manner as the bias tape. Put raw edges together and pin, making sure to slide the fabric out a little if there is too much bunching in one area.
Stitch 1/4" inseam, making sure to keep everything even, and removing pins when you approach them.
Once you have finished stitching the ruffle to the dress, press the ruffle down.
And that's it:o) 
Your pillowcase dress is complete. Now you just have to find that cutie and slip it over her head and enjoy watching her wear your creation:o) I did have to make a hair bow for S.R. to match:o)
You can find the pattern for this super simple flower here, at Carina Gardner Studio. Another great blog to check out!!!

If you have any questions about today's tute, give me a shout. If you decide to make one, please send me pics so I can share them! I wanna see your work!!! Happy Sewing!