Showing posts with label tutorial. Show all posts

Thursday, June 25, 2015

Lego Friends Table


 Hello dear friends! I have a little project to share with y'all today. 
If you have been following along on Facebook, you know that I have been doing a little series called Thrifty Thursday's. It's where I share things that I have purchased from thrift stores or yard sales, and show you that it's possible to have awesome stuff without going broke. 

This thrifty find deserved an actual blog post.

S.R. has been after me for a few months now to make her a Lego table. I'm sure you recall the Lego Table I made for her brother 2 years ago...has it really been that long?!?
When I made it for E, little sister wasn't really into Legos, so I didn't feel the need to make her one at the time.
Well that time is here, so I had to come up with something for her as well.
And here it is.
 I found this table at one of the thrift stores I frequent. I happened to show up on one of their sale days. The table was $5. The store had coupons you could draw from a basket. I drew a 50% off coupon, so I used it on this table. $2.50 on a mostly wood table. Not too bad, eh?
I knew it would be just right for S.R.'s new Lego Table.
I needed to knock the finish off, so I used an orbital sander with 80 grit sand paper. It removed all the gunk off as well. It took about 10 minutes to finish that task.
The table had a 1/4" recess in the center, I need to fill it with strips of wood, so that the Lego plate wouldn't bow when being pressed down on.
Enter compound miter saw.
I forgot how.much.fun.this.thing.is!!!!
I want to start sawing everything in half now...just kidding...maybe not ;-)
Once I measured and cut the wood, I stapled it down using the hubs' nail gun...also an awesome tool.
Now this was the tricky part. Here in Alabama, we are known for nasty, sticky humidity. One of the worst places to spray paint.
But I have a trick. I spray quickly, and immediately bring back into the house between coats. The dry time is a little longer because of the WET air, but it still works pretty well.
I really like Valspar for spray painting. I used to be a Krylon girl, but you only have a 1 hour painting window. Valspar is a little more forgiving, and if I have to go longer than an hour, the finish isn't compromised. I love it!

Sister chose pink, of course!
 I sprayed the legs, apron, and the top edges of the table. I didn't paint the center because the Lego plate would be covering that space.
Here's a close up of the top. You can see I got a little staple happy...I Love Power Tools!!
 
I forgot to take a picture of the next 2 steps.
While the last coat of paint was drying, I drilled two holes on the table top and added some glitzy  hardware to hold the Lego bag. I had originally intended for the hardware to go on my hair sink cabinet, but I saw how much S.R. loved them, so I decided to surprise her with them. She loves all things that glitter and sparkle...I don't know very many girls who don't!
After the knobs were in, I glued the Lego plate down with Liquid Nails. I set some heavy books on top to help it adhere.
I also sewed a bag with fabric I had in my stash to house her Legos. She only has a few Legos right now, so the bag should be enough for now. If her collection grows, there's plenty of room to set a basket under the table.
And here's the finished product.
 A close up of the glitzy hardware.


And once again, the before and after.
I am so glad to have a project completed!
We start school in 2 1/2 weeks, so I am squeezing as much as I can into what little summer we have left!!
Make sure to check in with me on Facebook. I do most of my posting there.
Thanks for stopping by today!

Tuesday, January 6, 2015

Ballard 'Burlap Message Board' Knock-Off Tutorial

 I hope you all had a wonderful Christmas holiday. 
Ours was filled with family, friends, and lots of travel. We had a wonderful time, but we are definitely glad to be back on a schedule. 
We started school yesterday, and it's nice to have the whole day planned out. 
We took the entire month of December off because we started school so early, so there wasn't any rhyme or reason to most days before Christmas...just maxin' and relaxin'. 
Since I had so much time on my hands, I was able to get a few projects knocked out.
Outside of being a full-time stay at home mom, I am also a licensed hair stylist. I have a little spot set up in the laundry room with a shampoo sink, and I occasionally get to use my stylist skills.
I am in the process of getting my laundry room turned into an "at-home" salon. My goal is to make it look less like a laundry room and more like a salon...however, the big fat washer and dryer still make it look like one;-)
Budget and time are big factors right now, so I can't do the major renovations I want to do, so I have been doing small projects to make the space a little more decorated.
I am really excited to share with you one of my latest projects. 
It's a Burlap Message Board.
I found my inspiration from the Ballard Designs catalog.

This project took around an hour, and I will have to say, I couldn't believe how easy it was.
And, it was super cheap!

Are you interested in making one for yourself?
Here are the supplies you need:
Cork board(found mine at a yard sale for $2)
Quilt batting(had some on hand)
Burlap(purchased mine from Hobby Lobby with 40% off coupon)
Brass Tacks(they were $1.99 at Hobby Lobby)
scissors
hammer
low temp glue gun(a must!!)
glue sticks
picture hanger for back

I loved the little gold flecks in this burlap. 
If I spot something sparkly, it usually ends up in the cart:-)
Let's get started!
You want to wrap the batting along the front of the cork board.
You'll flip it over, and glue the batting to the sides of the frame.
 It should look a little something like this when you are finished.
 Trim the excess batting all the way down to the frame. You won't want the extra bulk when wrapping the burlap.
 Next, lay the board on top of the burlap. 
 This process is similar to recovering a cushion on a chair. You will start on one side and glue the burlap down to the back of the frame(not the sides, like the batting). This is why you definitely want a low temp glue gun. Your fingers will thank you!!
Once you have one side glued down, then you will glue the opposite side, making sure to pull tightly.
Repeat on all sides.
 Your corners will be sticking up, so just put a glob of glue in the corner and mash.
Make sure it's LOW TEMP or you will burn your fingers to bits.
 When all sides and corners are glued down, you should have something that looks like this.
 Next come the tacks. I measured here and there, but they are by no means perfect.
 I measured just enough so that they wouldn't be too wonky.
Just start hammering away until you get the desired look.
 The last step is to add the picture hanger on the back. You will definitely want a more precise measurement for this step so that it will hang level.
And this is the end result!
I love the result, and it does a great job in covering two massive holes in the wall that will be fixed...someday:-)
Let me know if you decide to make one too. I'd love to see what you come up with!


Monday, December 15, 2014

Cookie Monster Mug Tutorial

It's crunch time, y'all. Christmas is in 10 days!!! I am working like a crazy person trying to get all of my last minute gifts together. I hadn't planned on it, but most of my gifts are handmade.
Which is really fun!!
One of my gifts I am giving is a Cookie Monster Mug.
This little mug was so much fun to make, and really cute, I think!
I was going to purchase one, but decided I could do it myself.
All of the supplies were purchased from Walmart.

You need:
-One blue mug
-White Oil Based Sharpie
-Black Oil Based Sharpie
-Circle stickers for template
-Scissors
-Rubbing Alcohol
-Paper Towels
Absolutely make sure you have OIL BASED paint pens. The oil based paint sticks better.
Hand wash your mug, dry it, and then wipe it down with rubbing alcohol. 
Then, use two large'ish circle stickers and place them where you want the eyes. (Can you tell we homeschool? Never can have too many stickers!!!)
Trace around the circles with the black paint pen. Remove stickers, and realize that stickers were placed in the wrong spot. Use rubbing alcohol and paper towels to remove said mistake. If you'd like, you can skip this step altogether :-)
Over lap the stickers like the picture below. Trace around the stickers with the black paint pen.
Allow the paint to dry just a few minutes and then remove the stickers. 
You can draw the mouth on next if you'd like.
Fill in the black circles with the white paint pen. It will take several coats of the white, so color in, and then give it a break. Come back in about 10 minutes or so, and reapply the paint. It's sort of like painting your nails. You can't reapply immediately.
Fill in the little pupils, and place in a cold oven on a sheet pan. With mug in the oven, turn it on to 350 degrees and let it bake for 30 minutes. 
Turn the oven off and let it cool to room temperature.
Once it cools, it's ready to gift, or use!

This mug was my inspiration. If you don't have the time to work on a mug of your own, you can click on the photo below and order one for yourself!


***This post contains affiliate links***

Wednesday, August 21, 2013

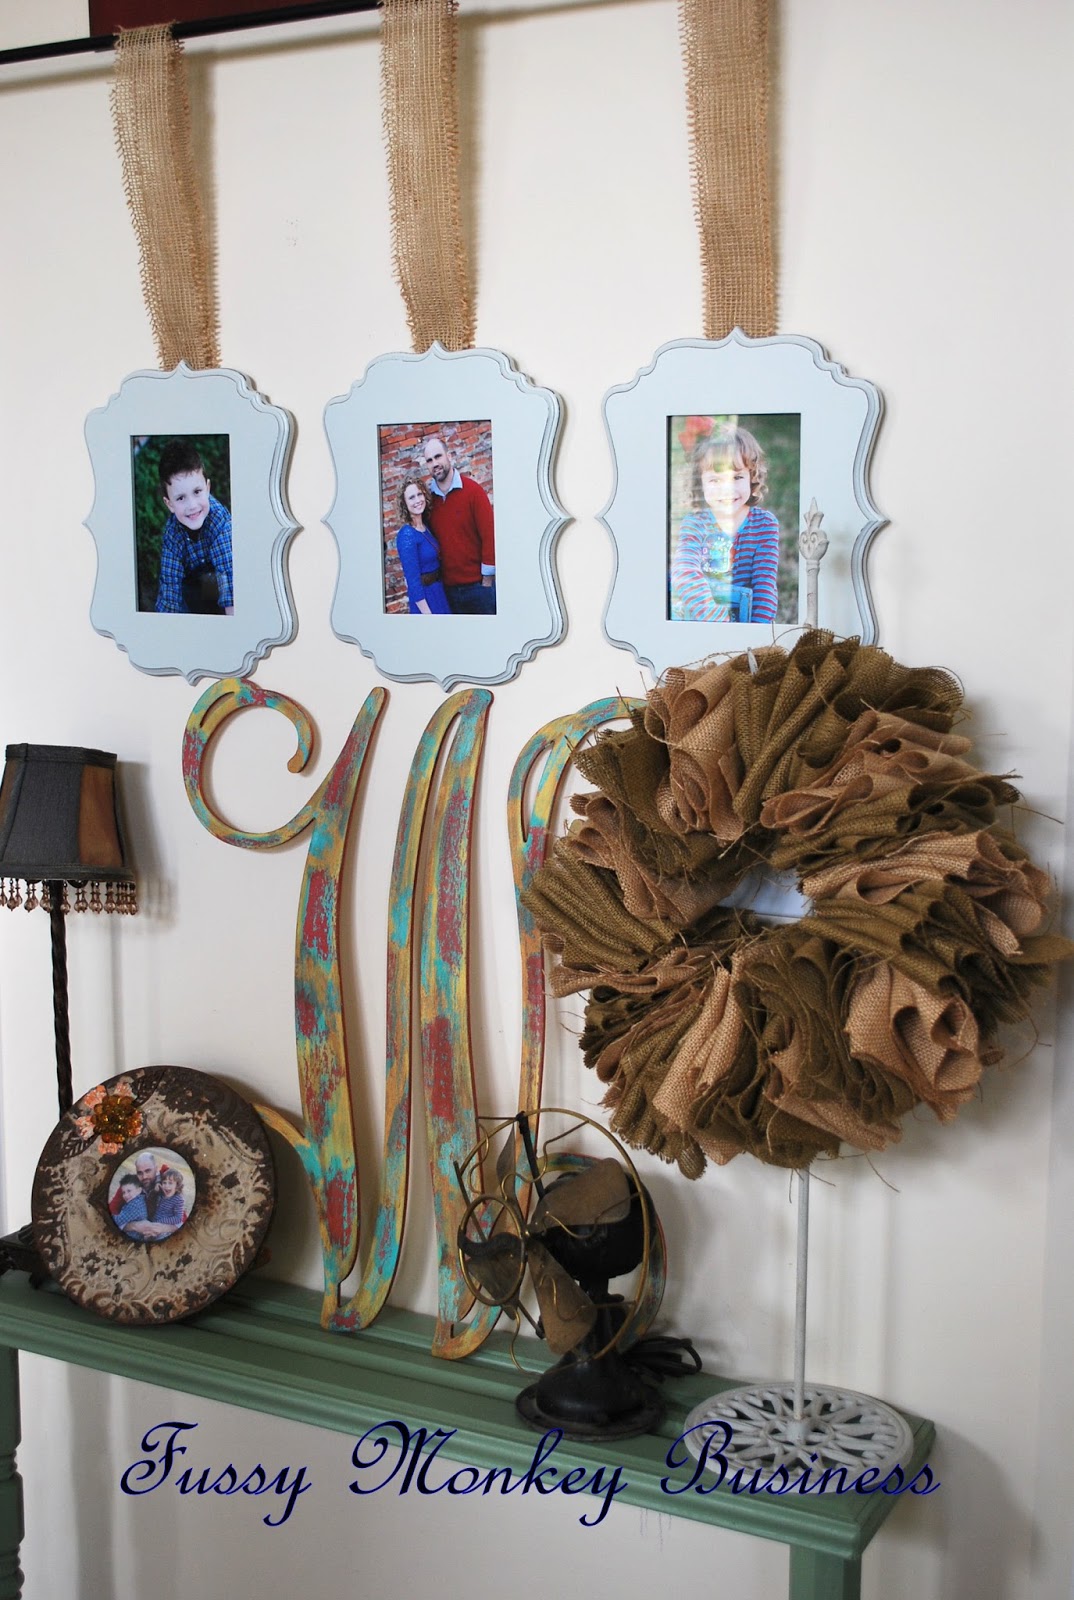
Burlap Wreath Tutorial

I.am.ready.for.fall.
Since Fall is around the corner, and I have a few spare moments with the kiddos back in school, I have been able to catch up on some decor projects I have been wanting to tackle.
One of them being a burlap wreath. 
You can't have Fall without a burlap wreath. It's in the rule books somewhere...I'm sure of it. 
There are so many different styles. Raggedy, bubbly, smooth, etc. I went for more of a shabby look...sounds better than raggedy, right?
Today I'm sharing how quick and easy this project is.  
Your list of supplies:
3 yards of burlap(I used two colors)(Burlap is $3.99 at my Hobby Lobby. I used a 40% off Q)
Wire hanger(Joan Crawford would die)
Needle Nose pliers
Scissors
Tape Measure
Start off by cutting your strips. I cut mine at 5" wide.
Then you will want to straighten out the wire hanger.
 Once all of the burlap is cut, do a fan fold. When finished, you will roughly have a 5x5 square.
Thread the wire hanger through the square. 
 While threading, the wire hanger was flopping around. This was driving Max bananas..it was fun to watch;o)
After all of the burlap is threaded onto the hanger, twist the ends together. I ended up snipping about 3" off of each side.
Twist it all together as best you can.
Flip, and hang on a wreath stand.
This project took less than an hour from start to finish, and was less than $10. Easy peasy. I'll have some more step by step fall decor coming your way soon!