Showing posts with label thrifty thursdays. Show all posts

Thursday, July 9, 2015

Jewelry Cabinet Facelift

 Hey Friends! 
I have another project to share today.
A jewelry cabinet makeover.
Sister has moved up to big girl jewelry, and is sporting dangly earrings on a daily basis. 
She looks so grown up with them in...sniff..
She had her ears pierced when she was 4, and has never had any issues until about a month ago when one of her ears became infected. 
We switched to dangly earrings, and thankfully haven't had any issues since. 
 She needed a new jewelry storage solution, so I went digging around in my stash in the attic, and found this cabinet. It was a yard sale find. 
I think I paid around $5 for it a few years ago. I kept thinking I just needed to get rid of it, but I'm so glad I didn't ;-)
The previous owners used some serious paint stripper on this cabinet, so all I had to do was use 220 grit sand paper on my orbital sander to smooth out the finish.


 Sister picked out the colors. Turquoise was the first color she wanted. The cabinet took 2 coats.
 Remember the old drawer I turned into a jewelry organizer? Well, I used the same type of metal from Hobby Lobby. This sheet was $11.99 (a little steep, but I used a 40% off coupon. It made the price not sting as bad). I laid the sheet on the back side of the cabinet door and marked off where I needed to cut.


 I used metal snippers to cut little sections at a time, being careful not to cut my fingers on the metal. It's extremely sharp.
 Once I was finished snipping, I tapped the edges down with a hammer.
After the metal was smooth, I painted it purple, Sister's second choice.
(Sometimes you have to get creative when spray painting two sided objects.)
 Once things had dried enough to handle, I attached the metal screen to the cabinet door(because I didn't have the patience to wait until it was completely dry), and then drilled a bigger hole in the door front so I could attach this adorable button knob from Hobby Lobby.
 I also added 2 picture frame hangers to the back of the cabinet, and hung it. I felt comfortable with using those because this cabinet is made out of very lite, thin wood.
 Here's a shot of the inside of the cabinet. It looks a little beat up, but the door will stay closed the majority of the time, so I am ok with it.
 
 And a quick before and after shot.

Now, Sister has a nice little spot to showcase her earrings, and it will be so much easier keeping up with them.

 And just for fun, a reality shot... so you know that I don't keep a perfect house. I just move things out of view ;-)
Thanks for stopping by! Let me know what you think!

Thursday, July 2, 2015

How to Dress Up Thrift Store Finds

Hello Friends. 
I hope you all are having a fine Thursday. 
Since it is Thursday, you know what that means. It's time to share my finds from thrifting.
And while we are on the subject of sharing....
I asked for your prayers on Sunday for my sister, Heather. She's pictured below with myself and our daddy.
Last Saturday, she was about to get ready for a family dinner to celebrate her 28th birthday, when she experienced three Grand mal seizures back to back.
I will spare you all the horrific details, but in the process of seizing, she dislocated and broke her right shoulder, and shattered her left shoulder and has a tear. 
She's still in the hospital, and is on lots of pain medication for the shoulders. The doctors are keeping her seizure medication pretty high, so that when she has her shoulder surgeries, she won't seize while under anesthesia. 
She is being transferred to a different hospital for the shoulder surgeries either today or tomorrow.
Apparently she has been experiencing partial seizures since she was a child, and we never knew it. This was all a complete shock.
She is in really good spirits, but that's just who she is. She is always making lemonade outta lemons. She's a blessing to anyone she encounters.
 So since she will be unable to raise her arms for quite some time, I ran over to the closest thrift store to find enormous men's button down shirts for her to wear. 
Now, if you have been following me for very long, you know that I always have to jazz things up a bit.
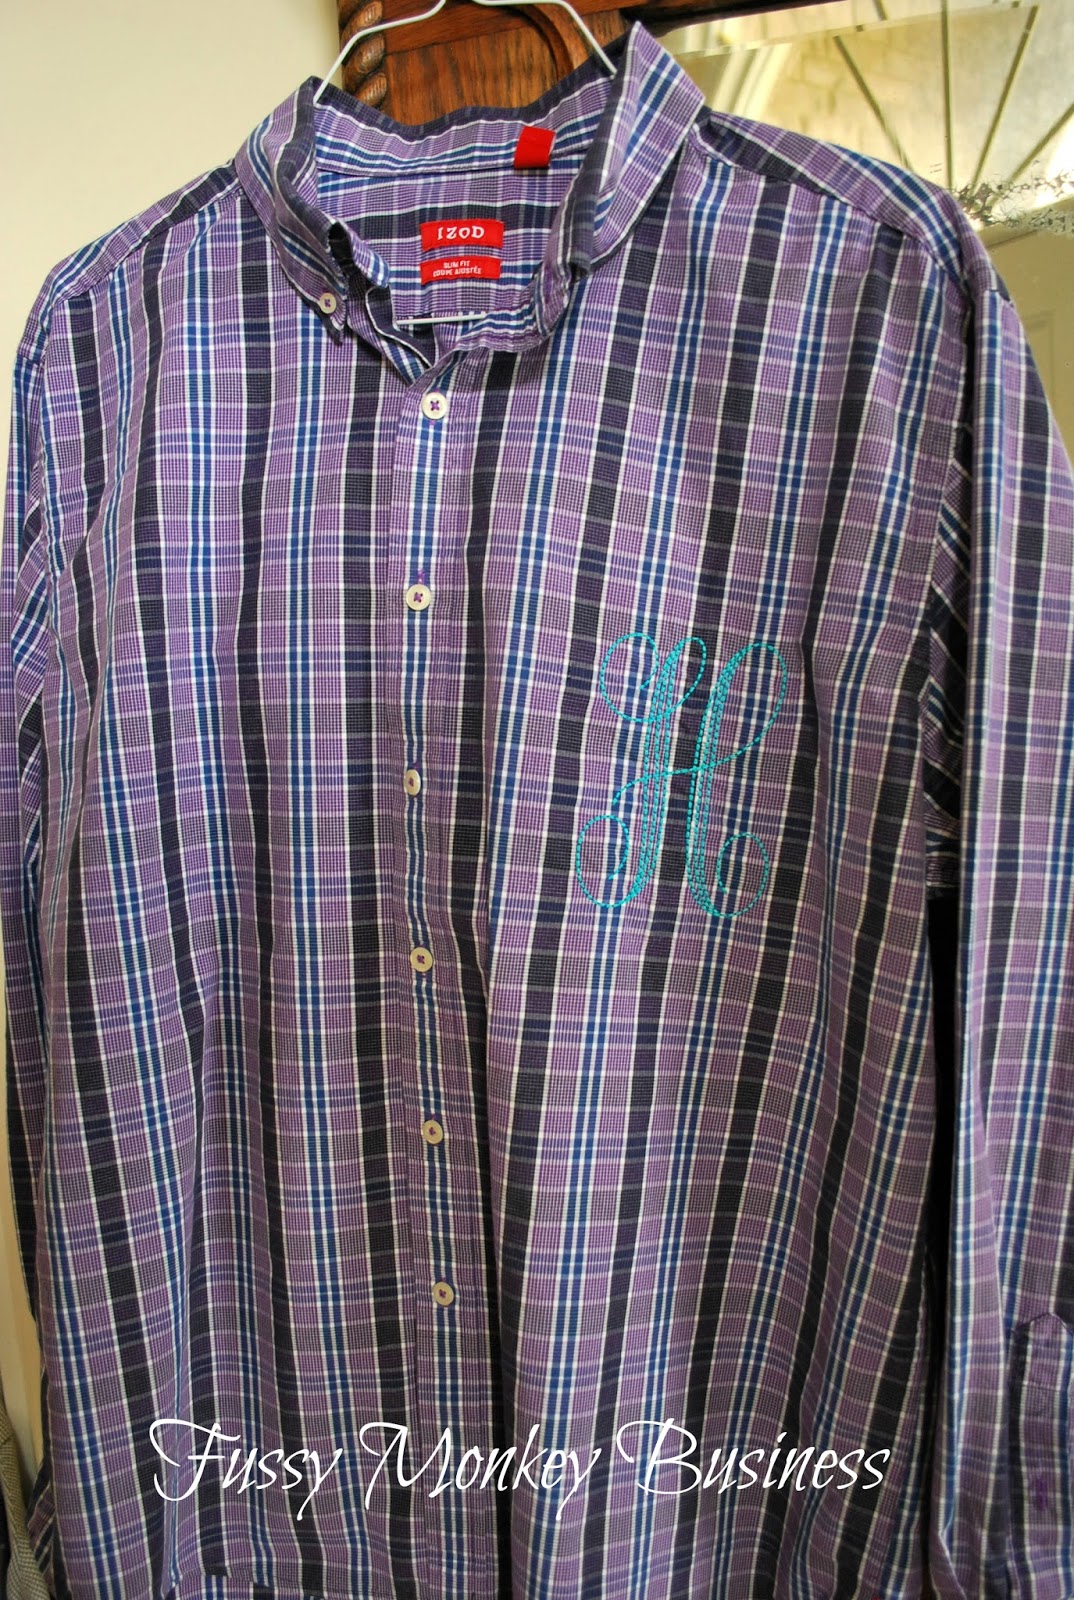
Since men's shirts aren't supposed to be flattering on women (because they're MEN'S shirts), I figured I'd slap a few monograms on them, so she could be comfortable AND cute ;-)

This was the last of the shirts I worked on, and I believe it's my favorite. This was an OOPS that turned out even better than I planned. I was pulling the pocket off with my seam ripper and ripped right through the shirt..AHH! I was so mad, I had to walk away.

 I came back after a full night's rest, and made a new pocket, patched the hole, monogrammed the pocket, and attached it to the shirt. Love!
Heather loves her some Vanderbilt. This shirt was a no brainer. 
Anchors and Vandy go together like milk and cookies.
 I used glitter fabric with this applique, and I think it's awesome...just sayin'.
Now this shirt, I think is my least favorite. 
Another one of Heather's loves is 'Merica.
She's all about the Red, White, and Blue. So I thought I would make her a festive shirt.
It didn't turn out how I had planned....she may want to set this one aside for when she turns 65.
To me it looks like a Granny shirt (no offense to you Granny's out there). 
 If anything, she can wear it at home when she has absolutely no where to be ;-)
 My sister is also a HUGE baseball fan. She lives and breathes baseball. I was in charge of her phone on Sunday to handle all calls or texts. She got a bazillion updates from her ESPN app..no joke. She was heavily sedated, but was still watching a game on the television in her room. 
So since she's so crazy about baseball, I figured I would make her one that she could eventually dress up with maybe an undershirt, and some cute jeans to wear to the next game she attends.
 Total no-brainer ;-)
 I love the colors of this shirt. Hubs was kind of upset that he didn't end up with some of these(minus the girly monograms). I'm sure he'll survive though ;-)
 The turquoise doesn't quite show up on the plaid, but if you look really close you can see how pretty it is!!
And there you have it. Those are the shirts I'll be taking up to her so she can get a break from the ugly hospital gowns. Hopefully she'll be able to slide her arms in them without any pain.
Prayers on her behalf are still coveted and appreciated. 

On another note, I found this old Sunbeam mixer bowl at another thrift store for $1.50 last week. 
It's heavy, and perfect for housing fruit.
I recently cleaned out my kitchen and reorganized the counters and this bowl was a perfect addition. I'll share more from my kitchen soon.
 For those of you who are joining along in the hunt for thrifty finds, please shoot me an email or message me on Facebook with your finds. I would love to share your awesome deals with the rest of my readers!

Thursday, June 25, 2015

Lego Friends Table


 Hello dear friends! I have a little project to share with y'all today. 
If you have been following along on Facebook, you know that I have been doing a little series called Thrifty Thursday's. It's where I share things that I have purchased from thrift stores or yard sales, and show you that it's possible to have awesome stuff without going broke. 

This thrifty find deserved an actual blog post.

S.R. has been after me for a few months now to make her a Lego table. I'm sure you recall the Lego Table I made for her brother 2 years ago...has it really been that long?!?
When I made it for E, little sister wasn't really into Legos, so I didn't feel the need to make her one at the time.
Well that time is here, so I had to come up with something for her as well.
And here it is.
 I found this table at one of the thrift stores I frequent. I happened to show up on one of their sale days. The table was $5. The store had coupons you could draw from a basket. I drew a 50% off coupon, so I used it on this table. $2.50 on a mostly wood table. Not too bad, eh?
I knew it would be just right for S.R.'s new Lego Table.
I needed to knock the finish off, so I used an orbital sander with 80 grit sand paper. It removed all the gunk off as well. It took about 10 minutes to finish that task.
The table had a 1/4" recess in the center, I need to fill it with strips of wood, so that the Lego plate wouldn't bow when being pressed down on.
Enter compound miter saw.
I forgot how.much.fun.this.thing.is!!!!
I want to start sawing everything in half now...just kidding...maybe not ;-)
Once I measured and cut the wood, I stapled it down using the hubs' nail gun...also an awesome tool.
Now this was the tricky part. Here in Alabama, we are known for nasty, sticky humidity. One of the worst places to spray paint.
But I have a trick. I spray quickly, and immediately bring back into the house between coats. The dry time is a little longer because of the WET air, but it still works pretty well.
I really like Valspar for spray painting. I used to be a Krylon girl, but you only have a 1 hour painting window. Valspar is a little more forgiving, and if I have to go longer than an hour, the finish isn't compromised. I love it!

Sister chose pink, of course!
 I sprayed the legs, apron, and the top edges of the table. I didn't paint the center because the Lego plate would be covering that space.
Here's a close up of the top. You can see I got a little staple happy...I Love Power Tools!!
 
I forgot to take a picture of the next 2 steps.
While the last coat of paint was drying, I drilled two holes on the table top and added some glitzy  hardware to hold the Lego bag. I had originally intended for the hardware to go on my hair sink cabinet, but I saw how much S.R. loved them, so I decided to surprise her with them. She loves all things that glitter and sparkle...I don't know very many girls who don't!
After the knobs were in, I glued the Lego plate down with Liquid Nails. I set some heavy books on top to help it adhere.
I also sewed a bag with fabric I had in my stash to house her Legos. She only has a few Legos right now, so the bag should be enough for now. If her collection grows, there's plenty of room to set a basket under the table.
And here's the finished product.
 A close up of the glitzy hardware.


And once again, the before and after.
I am so glad to have a project completed!
We start school in 2 1/2 weeks, so I am squeezing as much as I can into what little summer we have left!!
Make sure to check in with me on Facebook. I do most of my posting there.
Thanks for stopping by today!